Even the most organized parents forget something when planning a sleepover. We've seen it hundreds of times — it's not a planning failure, it's just a lot of moving pieces. This checklist covers everything, in the order you'll need it.
4–6 weeks before
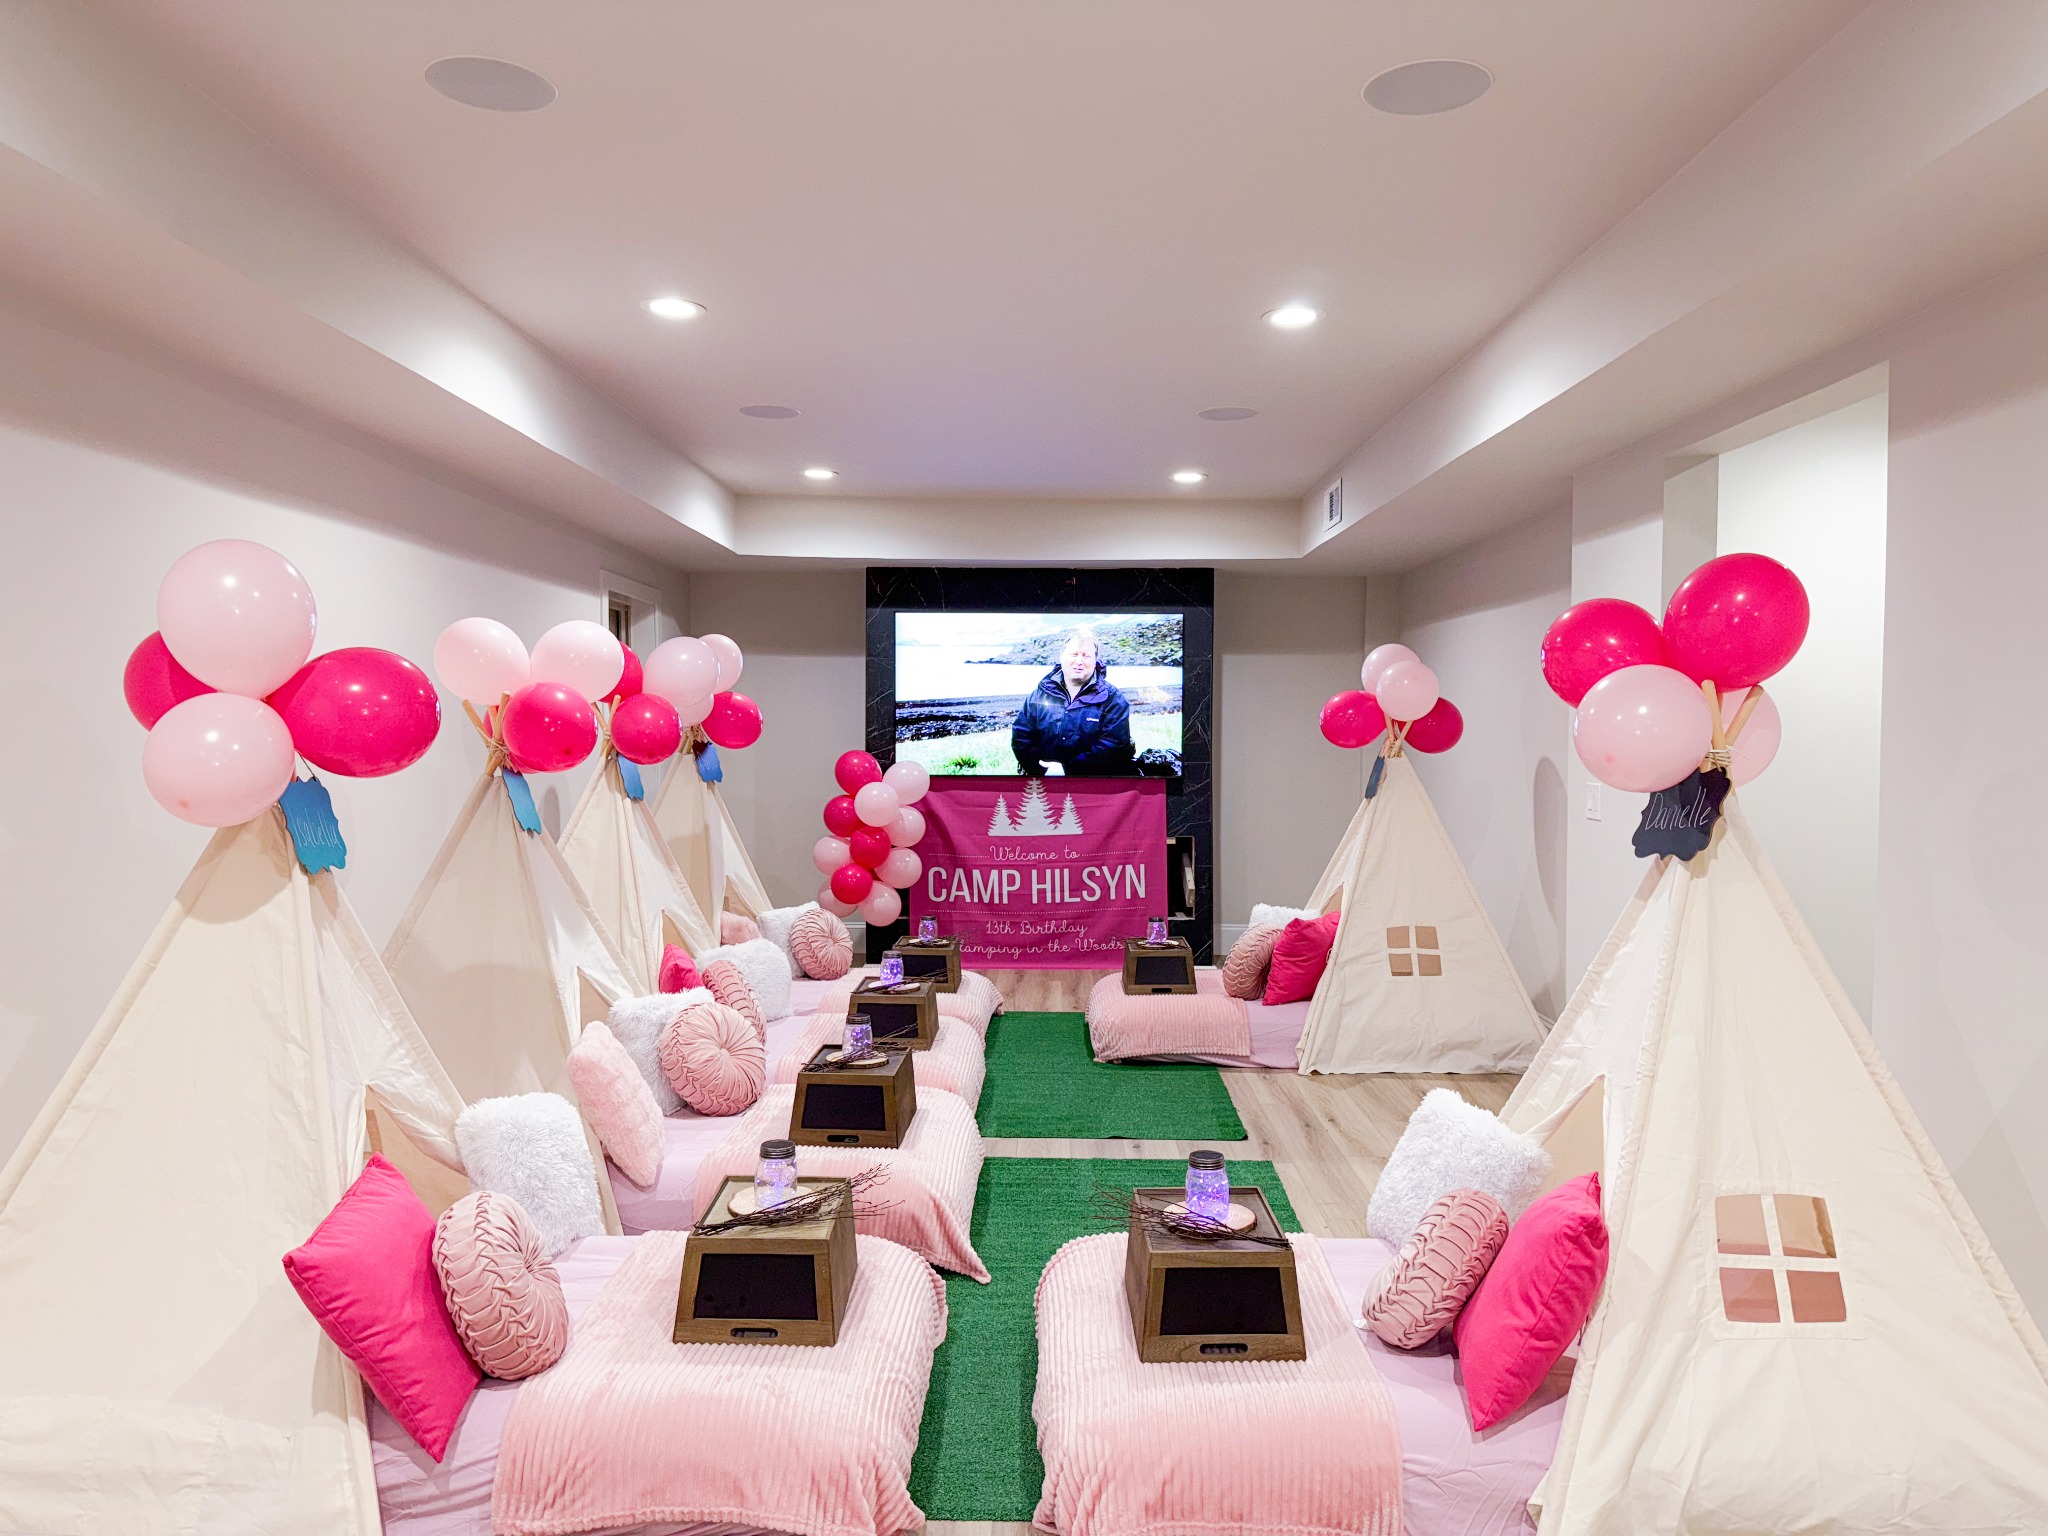
- ✅ Lock in the date and confirm your space. Clear the main party room. Measure it so you know how many teepees or sleeping setups will fit.
- ✅ Set the guest list and max count. Decide before invitations go out — it's much harder to un-invite someone than to set a clear number from the start. For a home teepee setup, 6–8 is the sweet spot.
- ✅ Book your stylist or order your supplies. Weekend dates book out 3–6 weeks in advance during Atlanta's busy season (spring and fall). Don't wait.
- ✅ Choose a theme. Let your child pick from a shortlist of 3 options you've pre-approved. Once picked, commit to it fully.
- ✅ Send invitations. Be explicit: start time, end time (the next morning), what to bring (sleeping bag if needed, pillow, toothbrush, change of clothes), and what to wear if it's a costume or dress-code theme.
1–2 weeks before
- ✅ Confirm RSVPs and share final guest count with your stylist.
- ✅ Plan your food. Dinner, snacks during the party, and breakfast the next morning. Keep it simple — pizza, individual snack boxes, and a waffle bar the next day is a foolproof formula.
- ✅ Order or purchase any add-ons (balloon garlands, name signs, party favors, activity kits).
- ✅ Plan your activities timeline. A loose schedule helps the night feel purposeful. Typical flow: arrival/snacks → activity → dinner → free time → movie → lights out → breakfast → pickup.
- ✅ Communicate the schedule with parents. Include drop-off and pickup times explicitly. "Pickup is between 9–10 AM Saturday" prevents the ambiguous Sunday morning situation.
The day before
- ✅ Clear and clean the party space. Move furniture out, vacuum, and wipe down surfaces. Your stylist will handle the setup from there.
- ✅ Prep any DIY food items. Make anything that needs refrigeration overnight.
- ✅ Set up a parent zone. Somewhere you can be available but not hovering — a nearby room, the kitchen, or the back patio.
- ✅ Charge devices. Bluetooth speaker, any projectors, cameras.
- ✅ Put extra blankets and spare pillows somewhere accessible. Guaranteed at least one kid forgets to bring theirs.
Day of — before guests arrive
- ✅ Confirm stylist arrival time and have the space ready for setup (1–3 hours before party start).
- ✅ Photograph the setup before kids arrive — it looks best in the first 15 minutes.
- ✅ Set up a snack or activity station near the entrance so early arrivals have something to do while others trickle in.
- ✅ Have a quiet backup plan. In case a child gets overwhelmed, scared of the dark, or needs a moment — designate a calm space outside the main party room.
During the party
- ✅ Take photos early and often. The styling looks best in the first hour before it's fully lived-in.
- ✅ Don't try to enforce a strict schedule. Have the plan, hold it loosely. Kids' energy doesn't follow a spreadsheet.
- ✅ Have a backup movie ready. If the planned movie falls flat, you want a quick pivot option.
- ✅ Communicate lights-out time with kids clearly before it happens — "in 30 minutes we'll turn off the big lights" gives them time to mentally prepare.
Morning logistics
- ✅ Keep breakfast simple and low-effort. Muffins, fruit, and juice boxes are better than trying to make individual hot breakfasts for 8 kids.
- ✅ Have everyone locate their belongings before parents arrive. Stray socks and missing water bottles slow everything down.
- ✅ Confirm stylist pickup time and ensure the room is accessible for teardown.
- ✅ Send thank-you photos to parents. A quick text with a photo of their kid having fun is the most appreciated thing you can do after the party.